
Under deck drainage catches water between deck boards and routes it to gutters, keeping the patio below sheltered from overhead runoff. For Utah homeowners, the challenge is handling spring snowmelt without trapping moisture against the framing or sending water toward the foundation. We'll explain which systems fit new and existing decks, what a sound installation needs, and how to plan for cost, approvals, and winter upkeep.
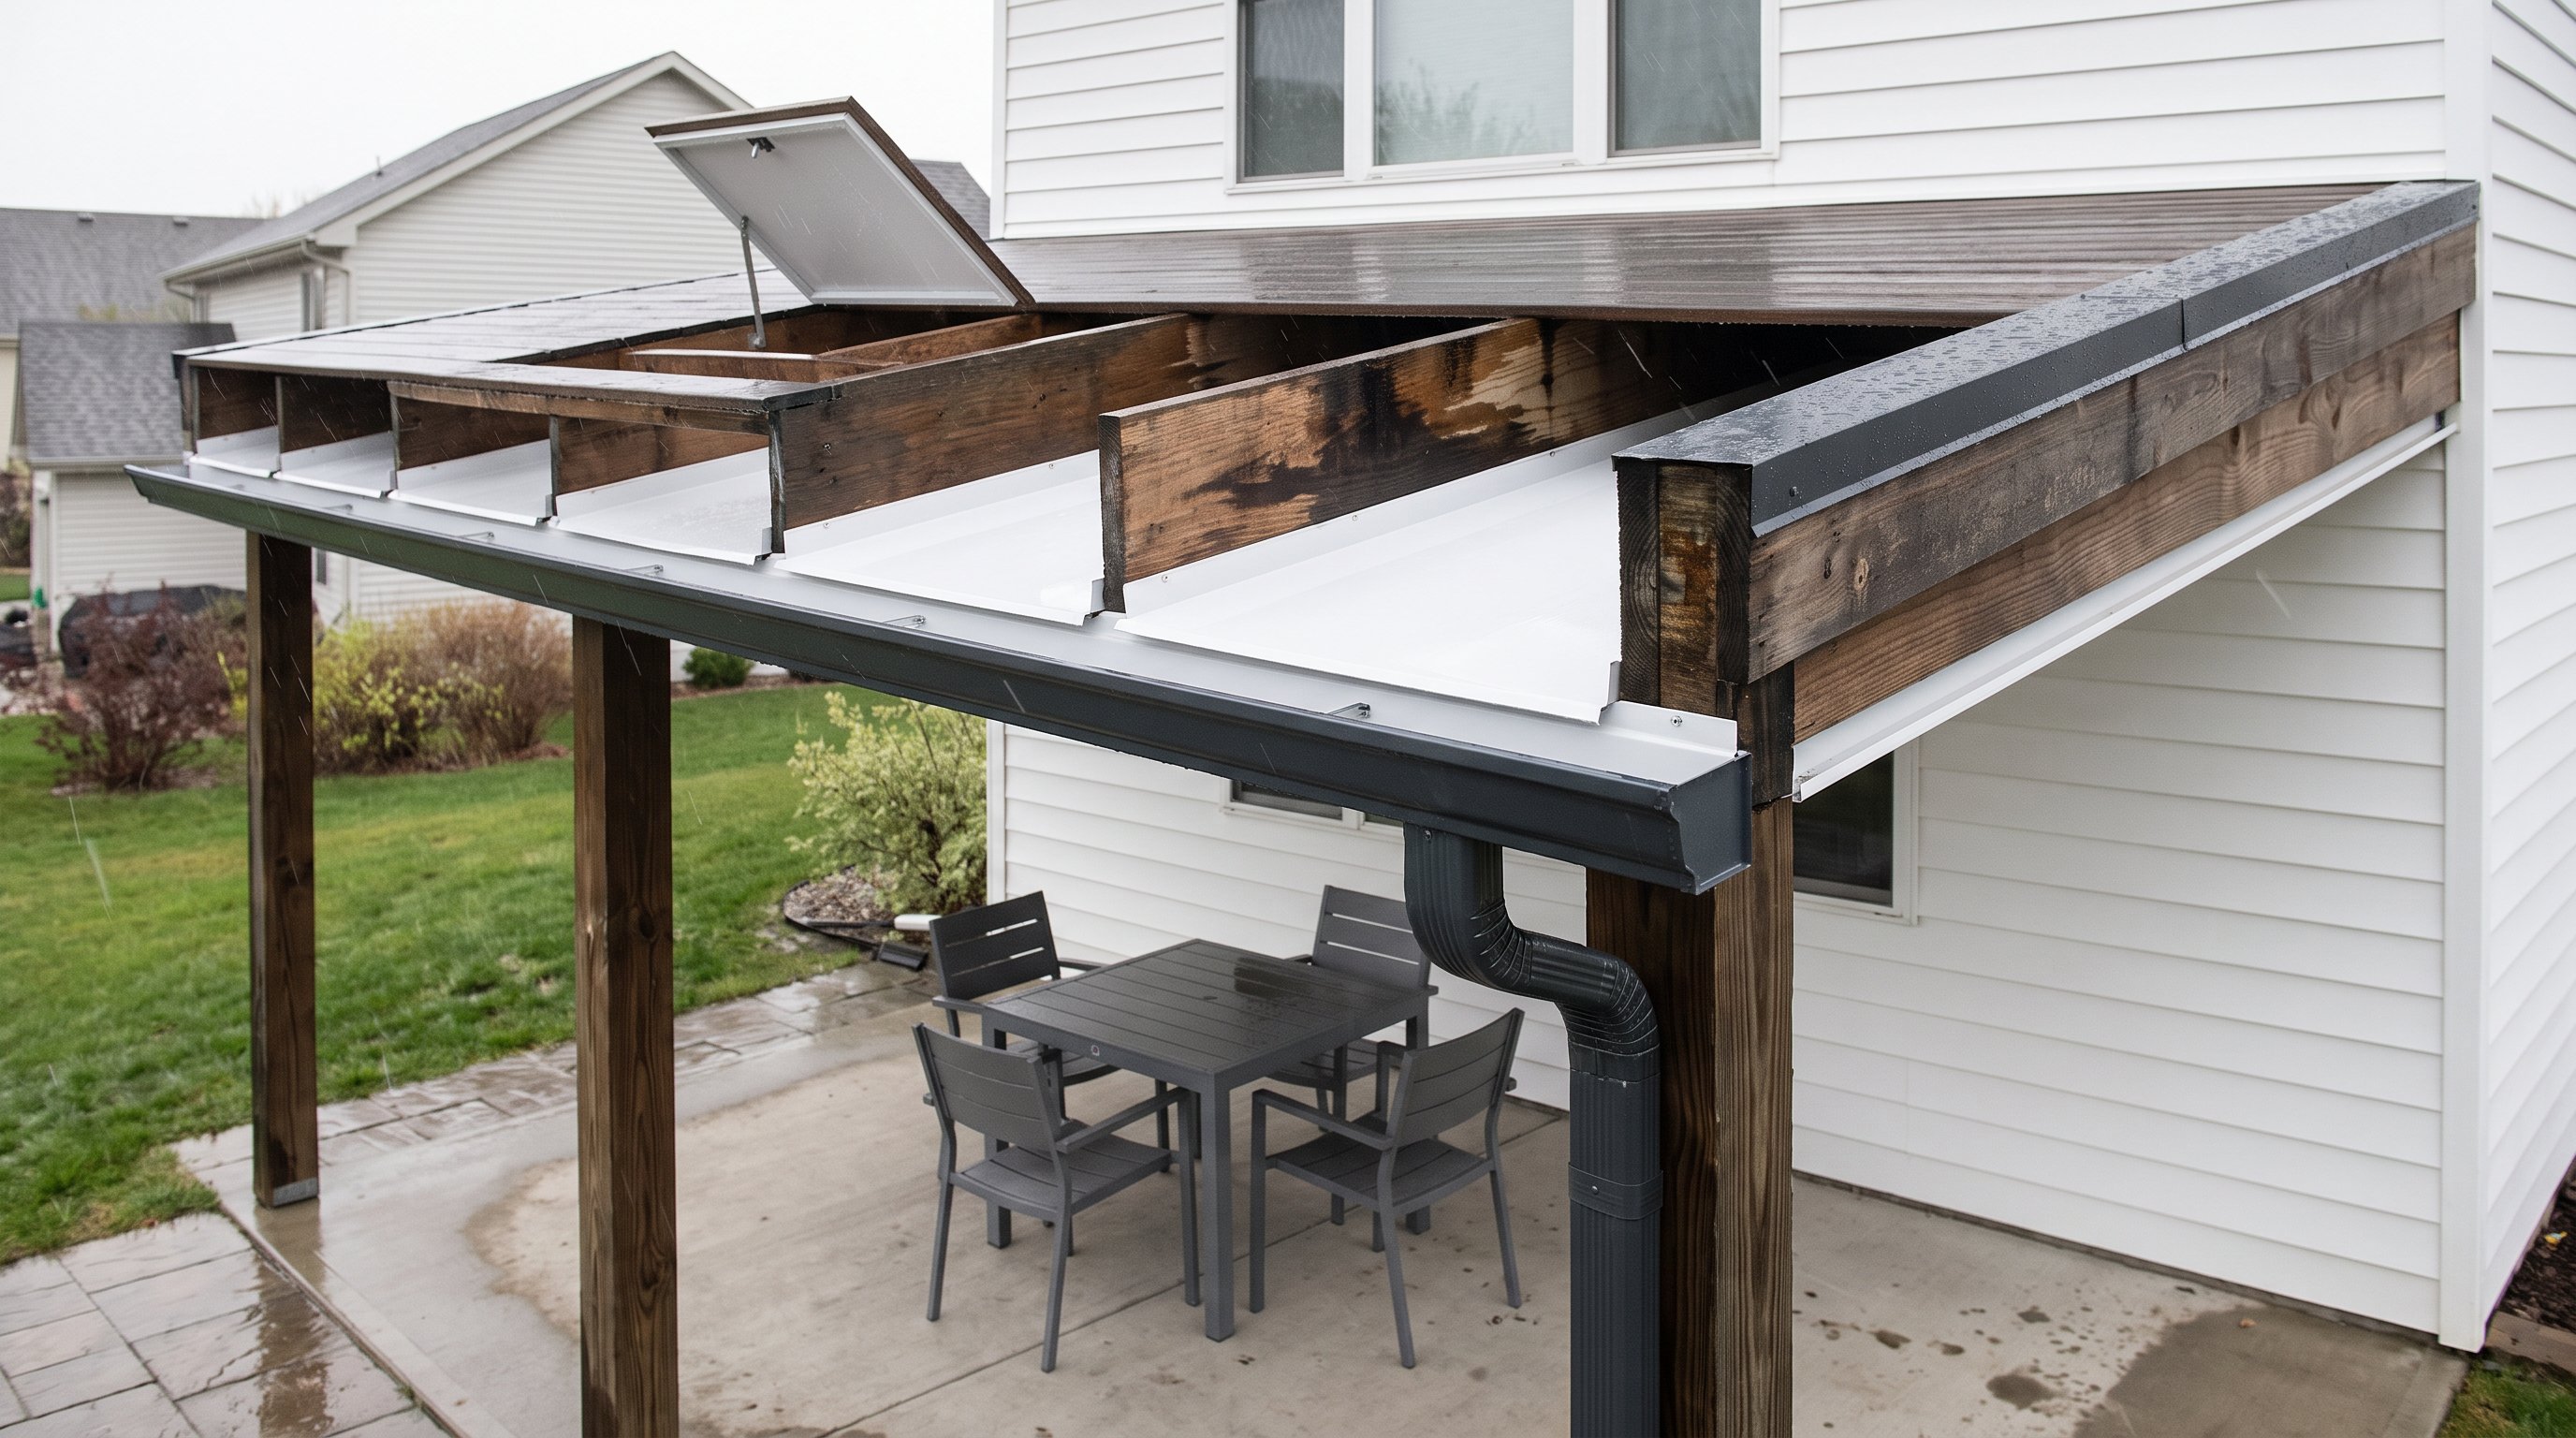
Under-deck drainage creates a collection surface beneath the decking, then uses slope to move water into a gutter and downspout. Its position relative to the joists determines whether it also protects the framing from water coming through the boards.
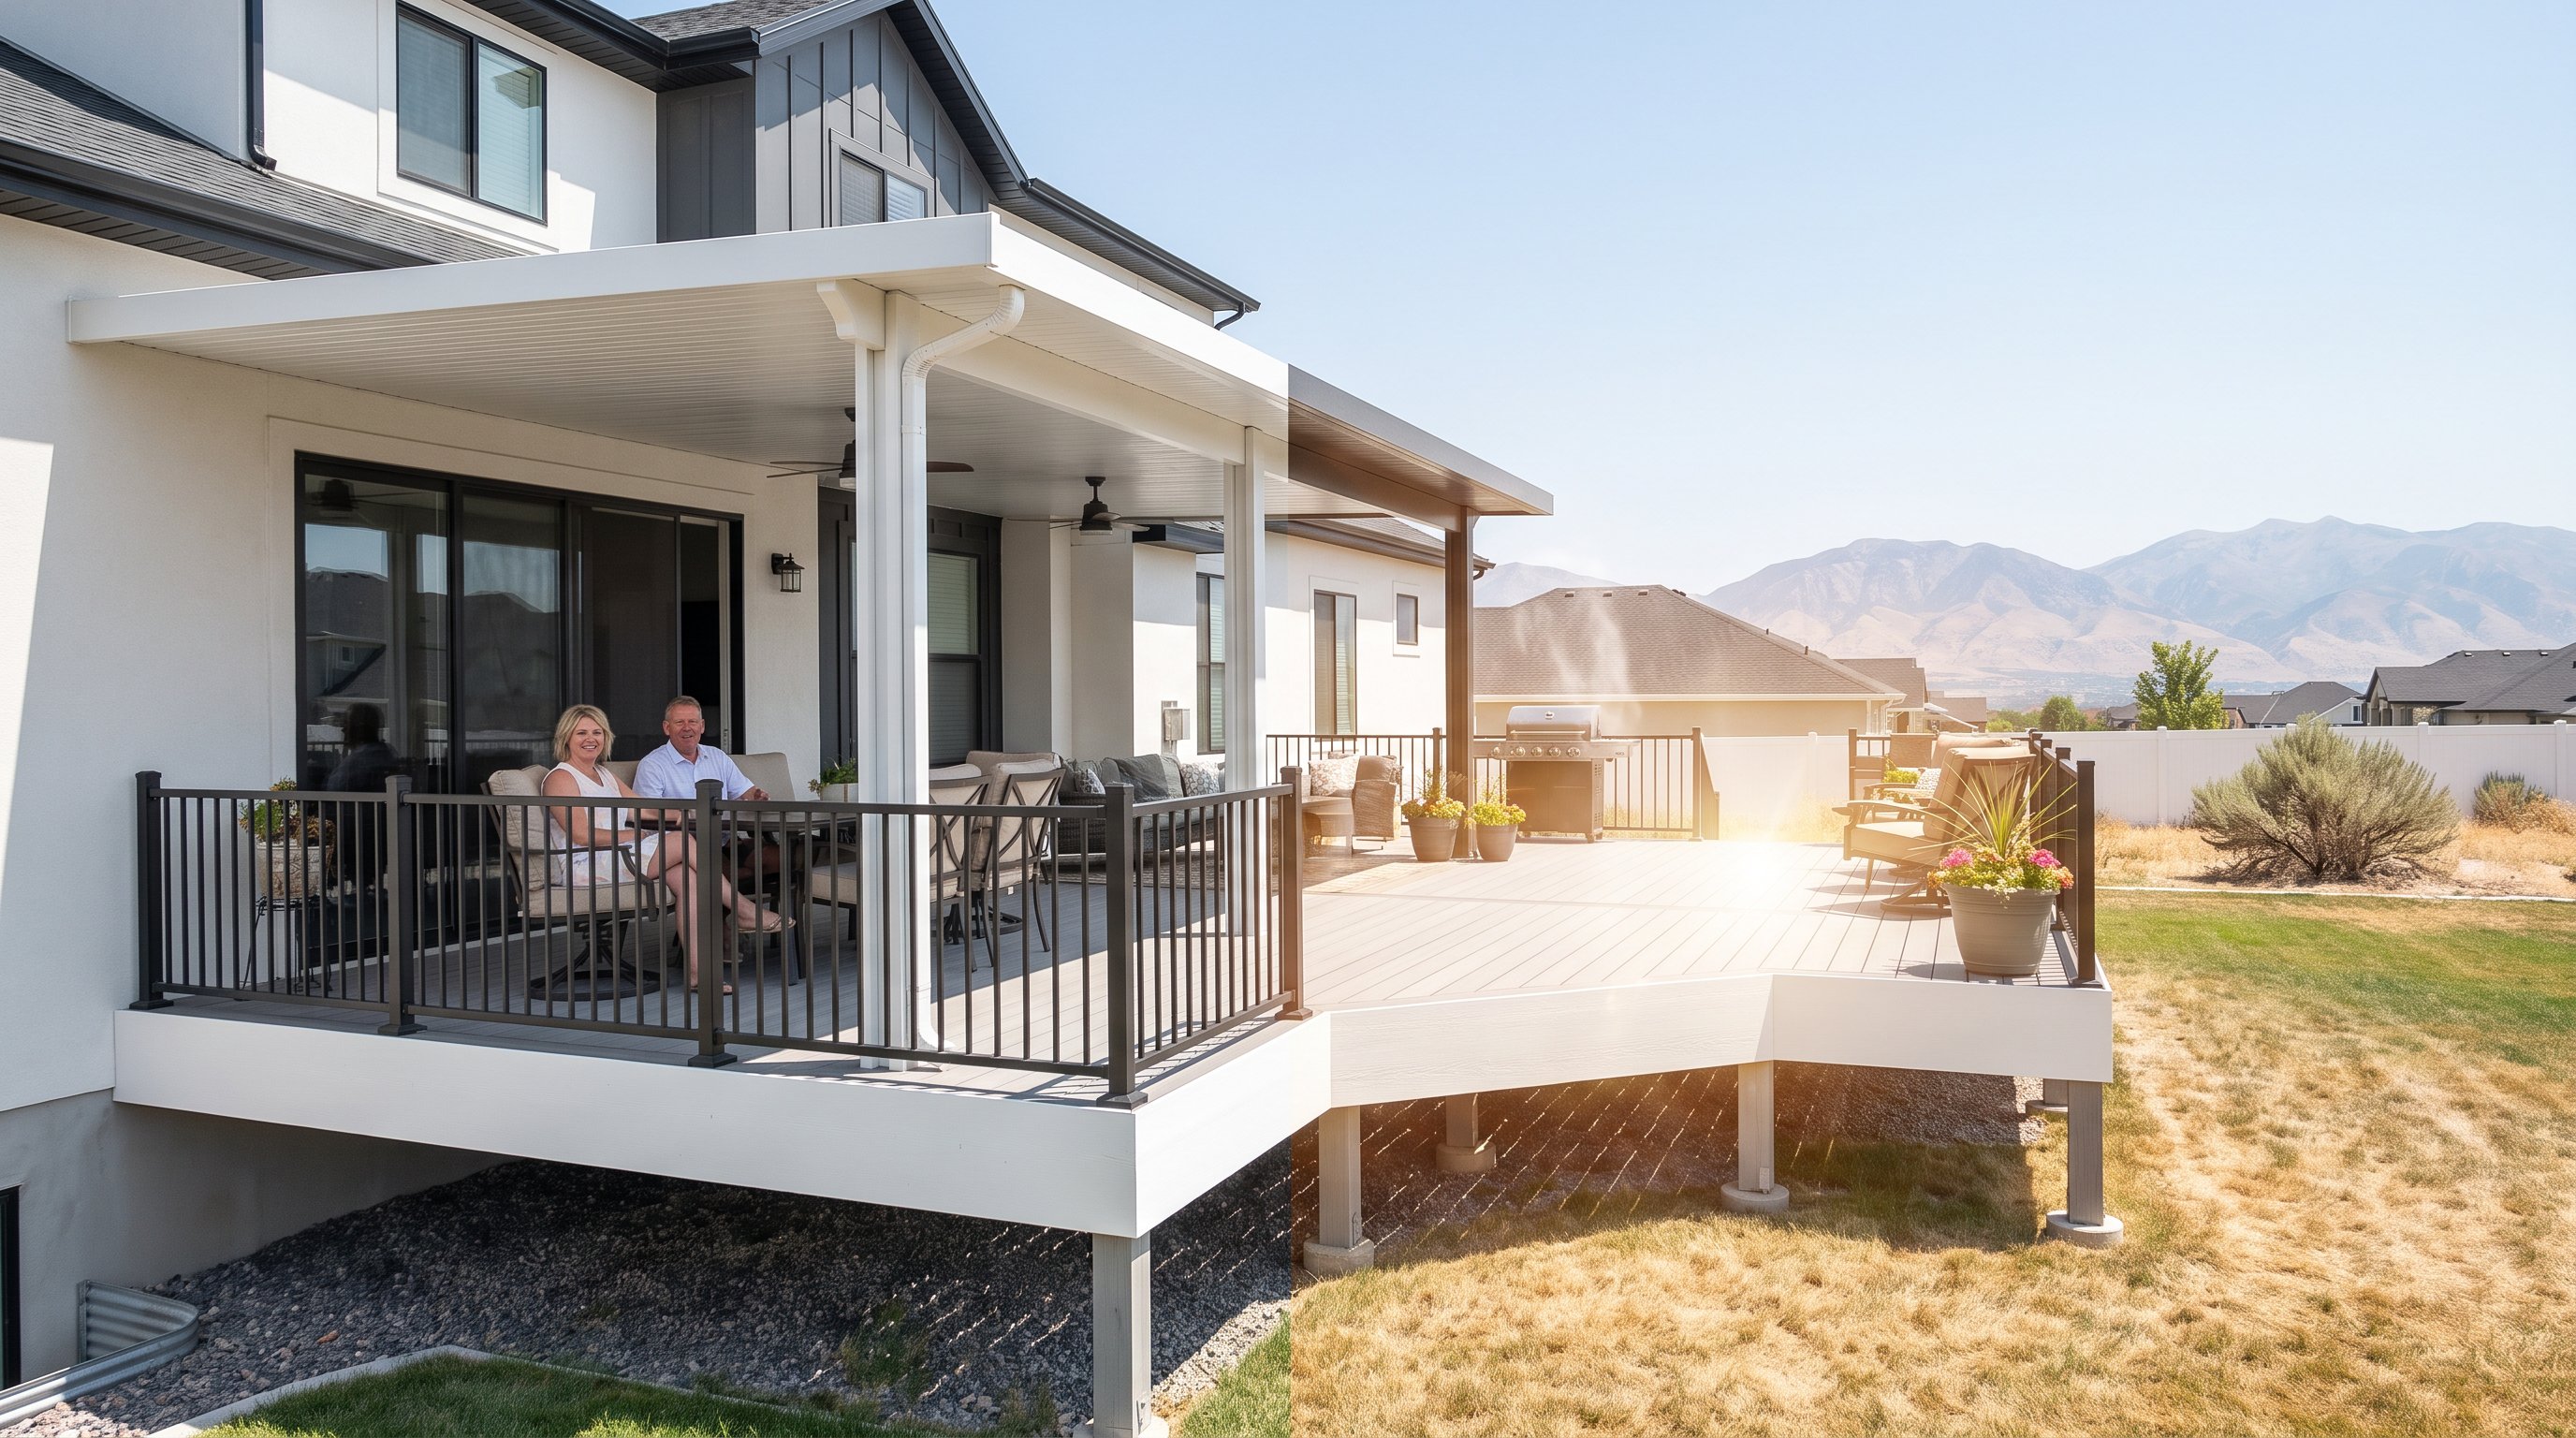
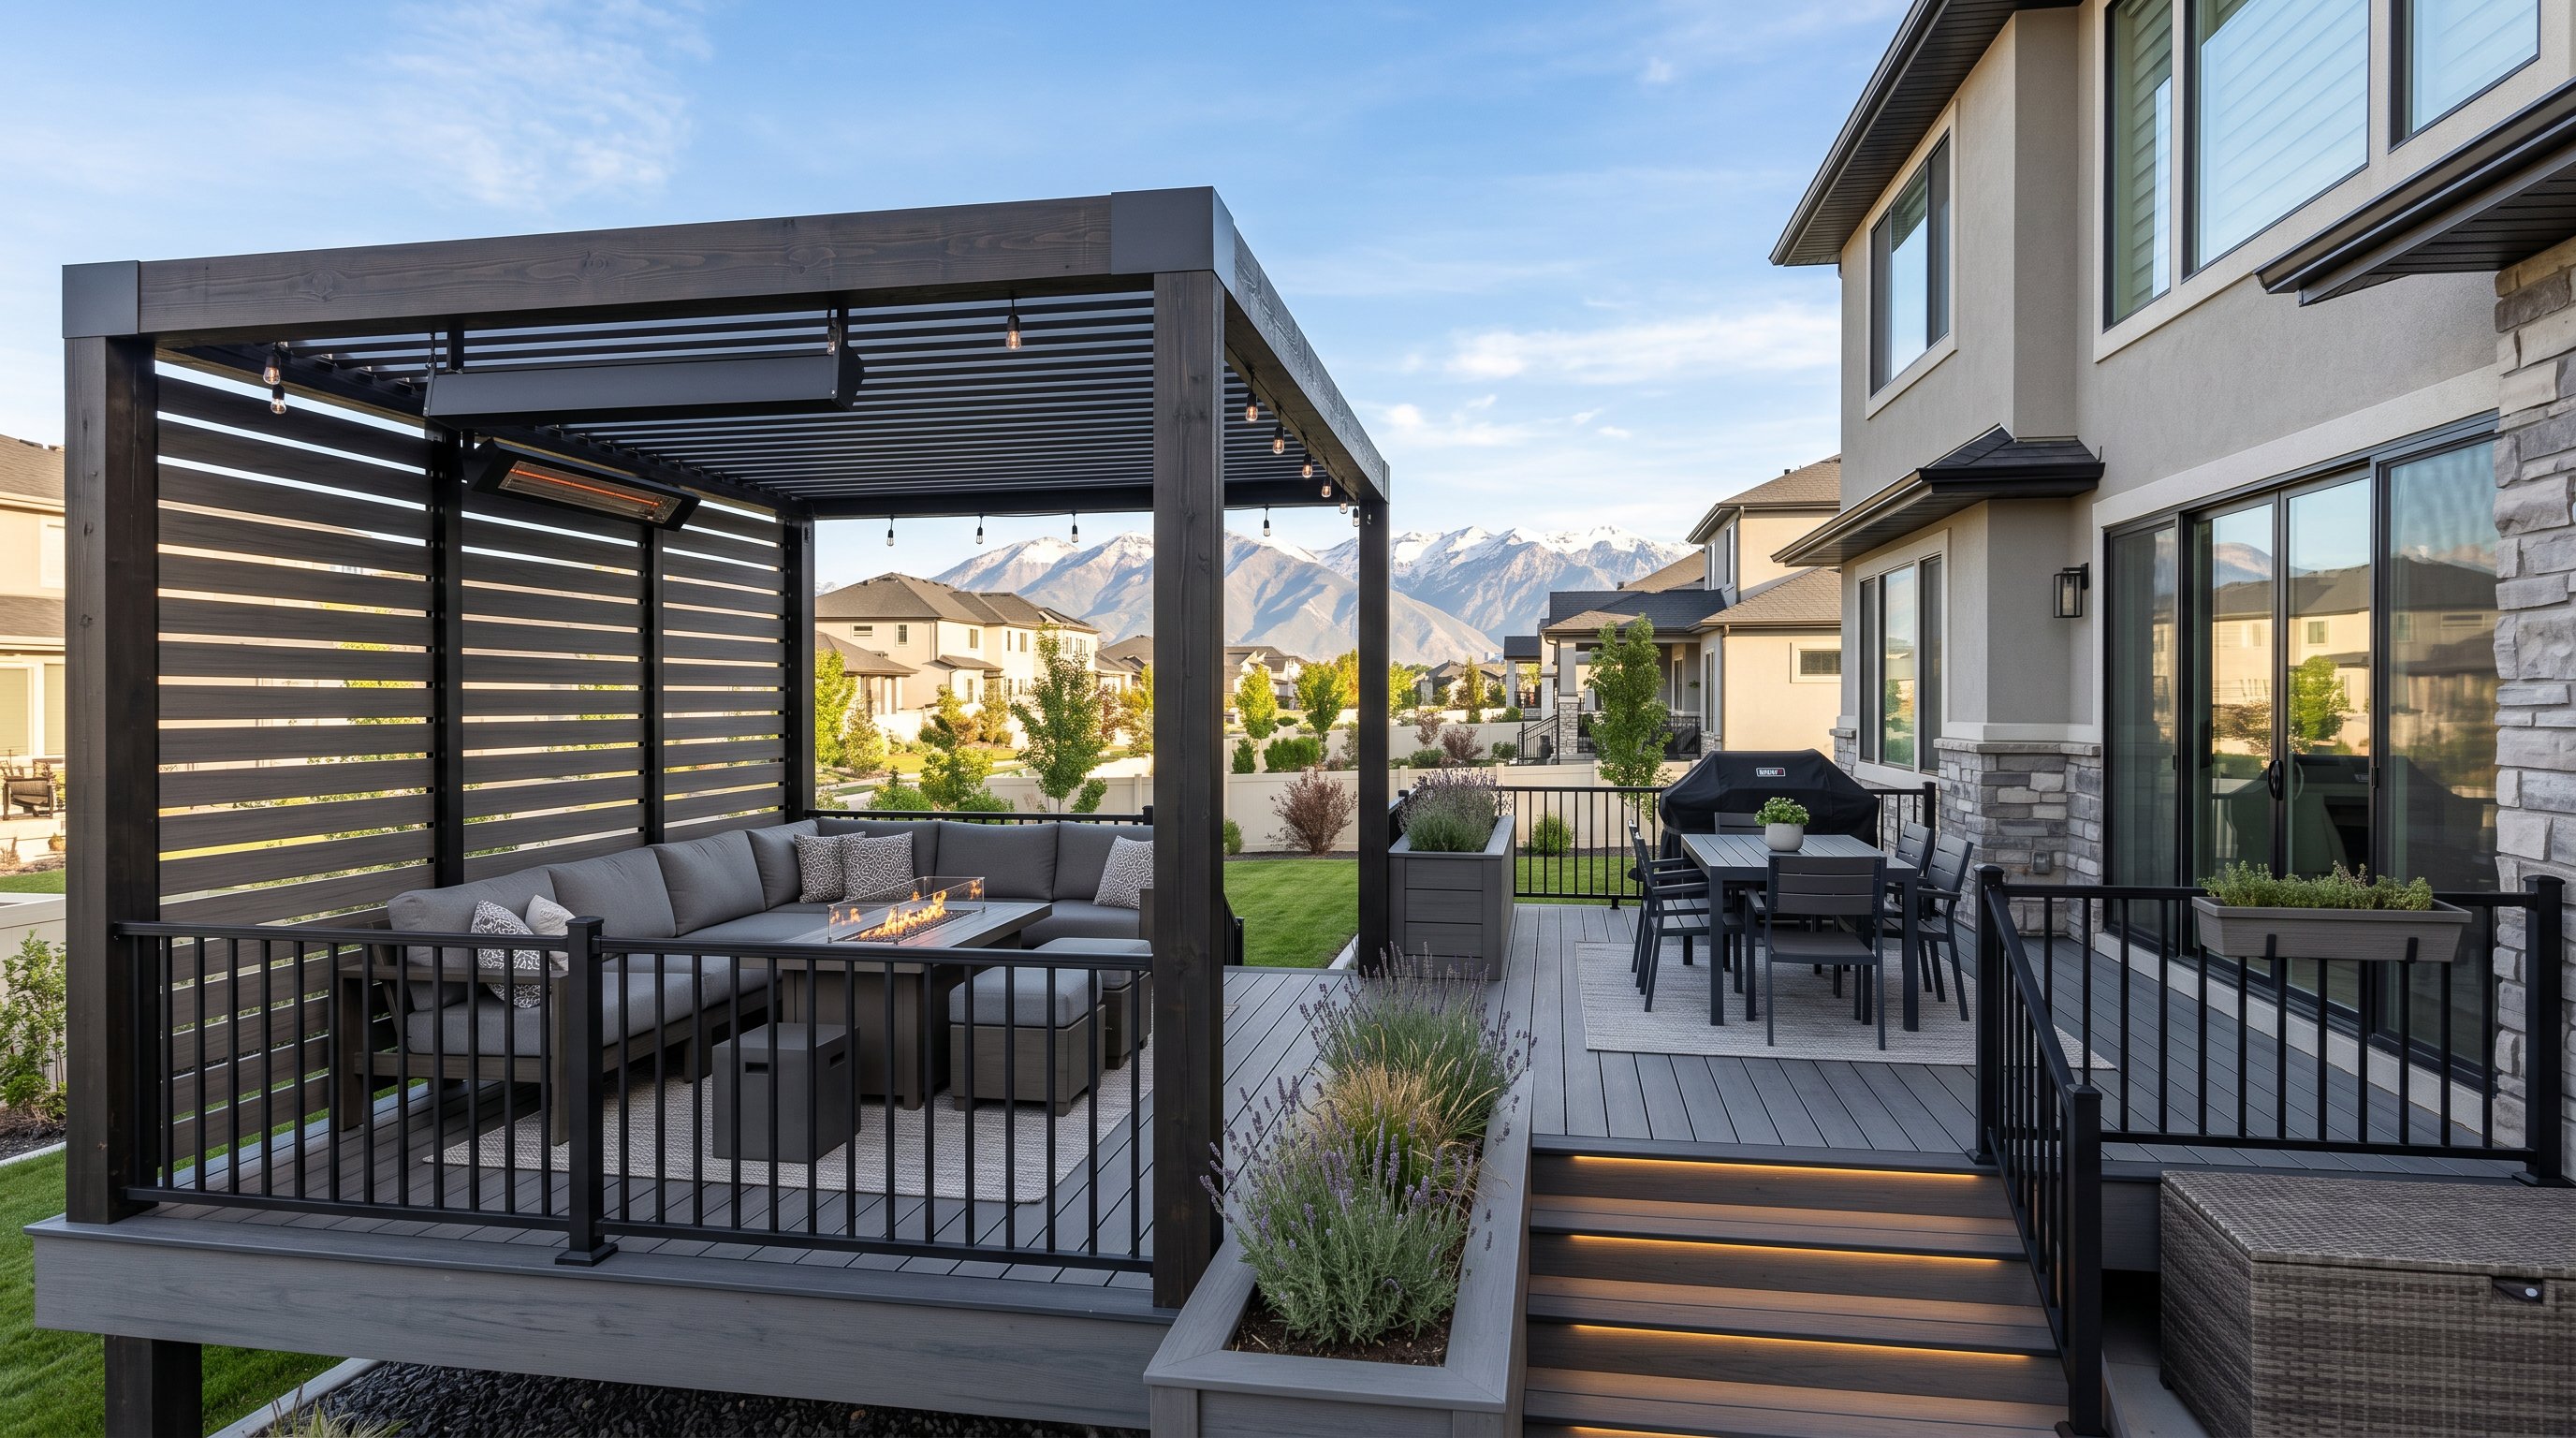
The benefit is usable space under a raised deck: a sheltered dining area, seating, or storage for outdoor items. But drainage isn't an enclosure. Wind-driven rain, blowing snow, and runoff from the surrounding yard can still reach the patio.
Above-joist systems, such as Trex RainEscape, use troughs installed over the joists before the deck boards go down. These troughs intercept water before it passes over the framing and carry it to collection outlets.
We generally favor this approach for a new deck or a project that already includes removing the boards. It reduces overhead water exposure and leaves room below for a separate finished ceiling, lighting, or a fan with proper support and electrical protection.
The drainage layer doesn't replace house flashing, sound framing, or regular inspection. Water can still enter through poorly sealed penetrations or exposed edges.
Below-joist systems collect water after it passes through the decking and over the framing. Many install from underneath, avoiding deck-board removal, and some panels also serve as the finished ceiling.
A dry patio doesn't necessarily mean dry joists. We assess ventilation, inspection access, and the framing's condition before recommending this approach. A below-joist system doesn't automatically cause decay, but an installation that traps moisture or hides leaks can let damage progress unnoticed.
Our outdoor living work includes drainage systems planned around how homeowners will use the space underneath.
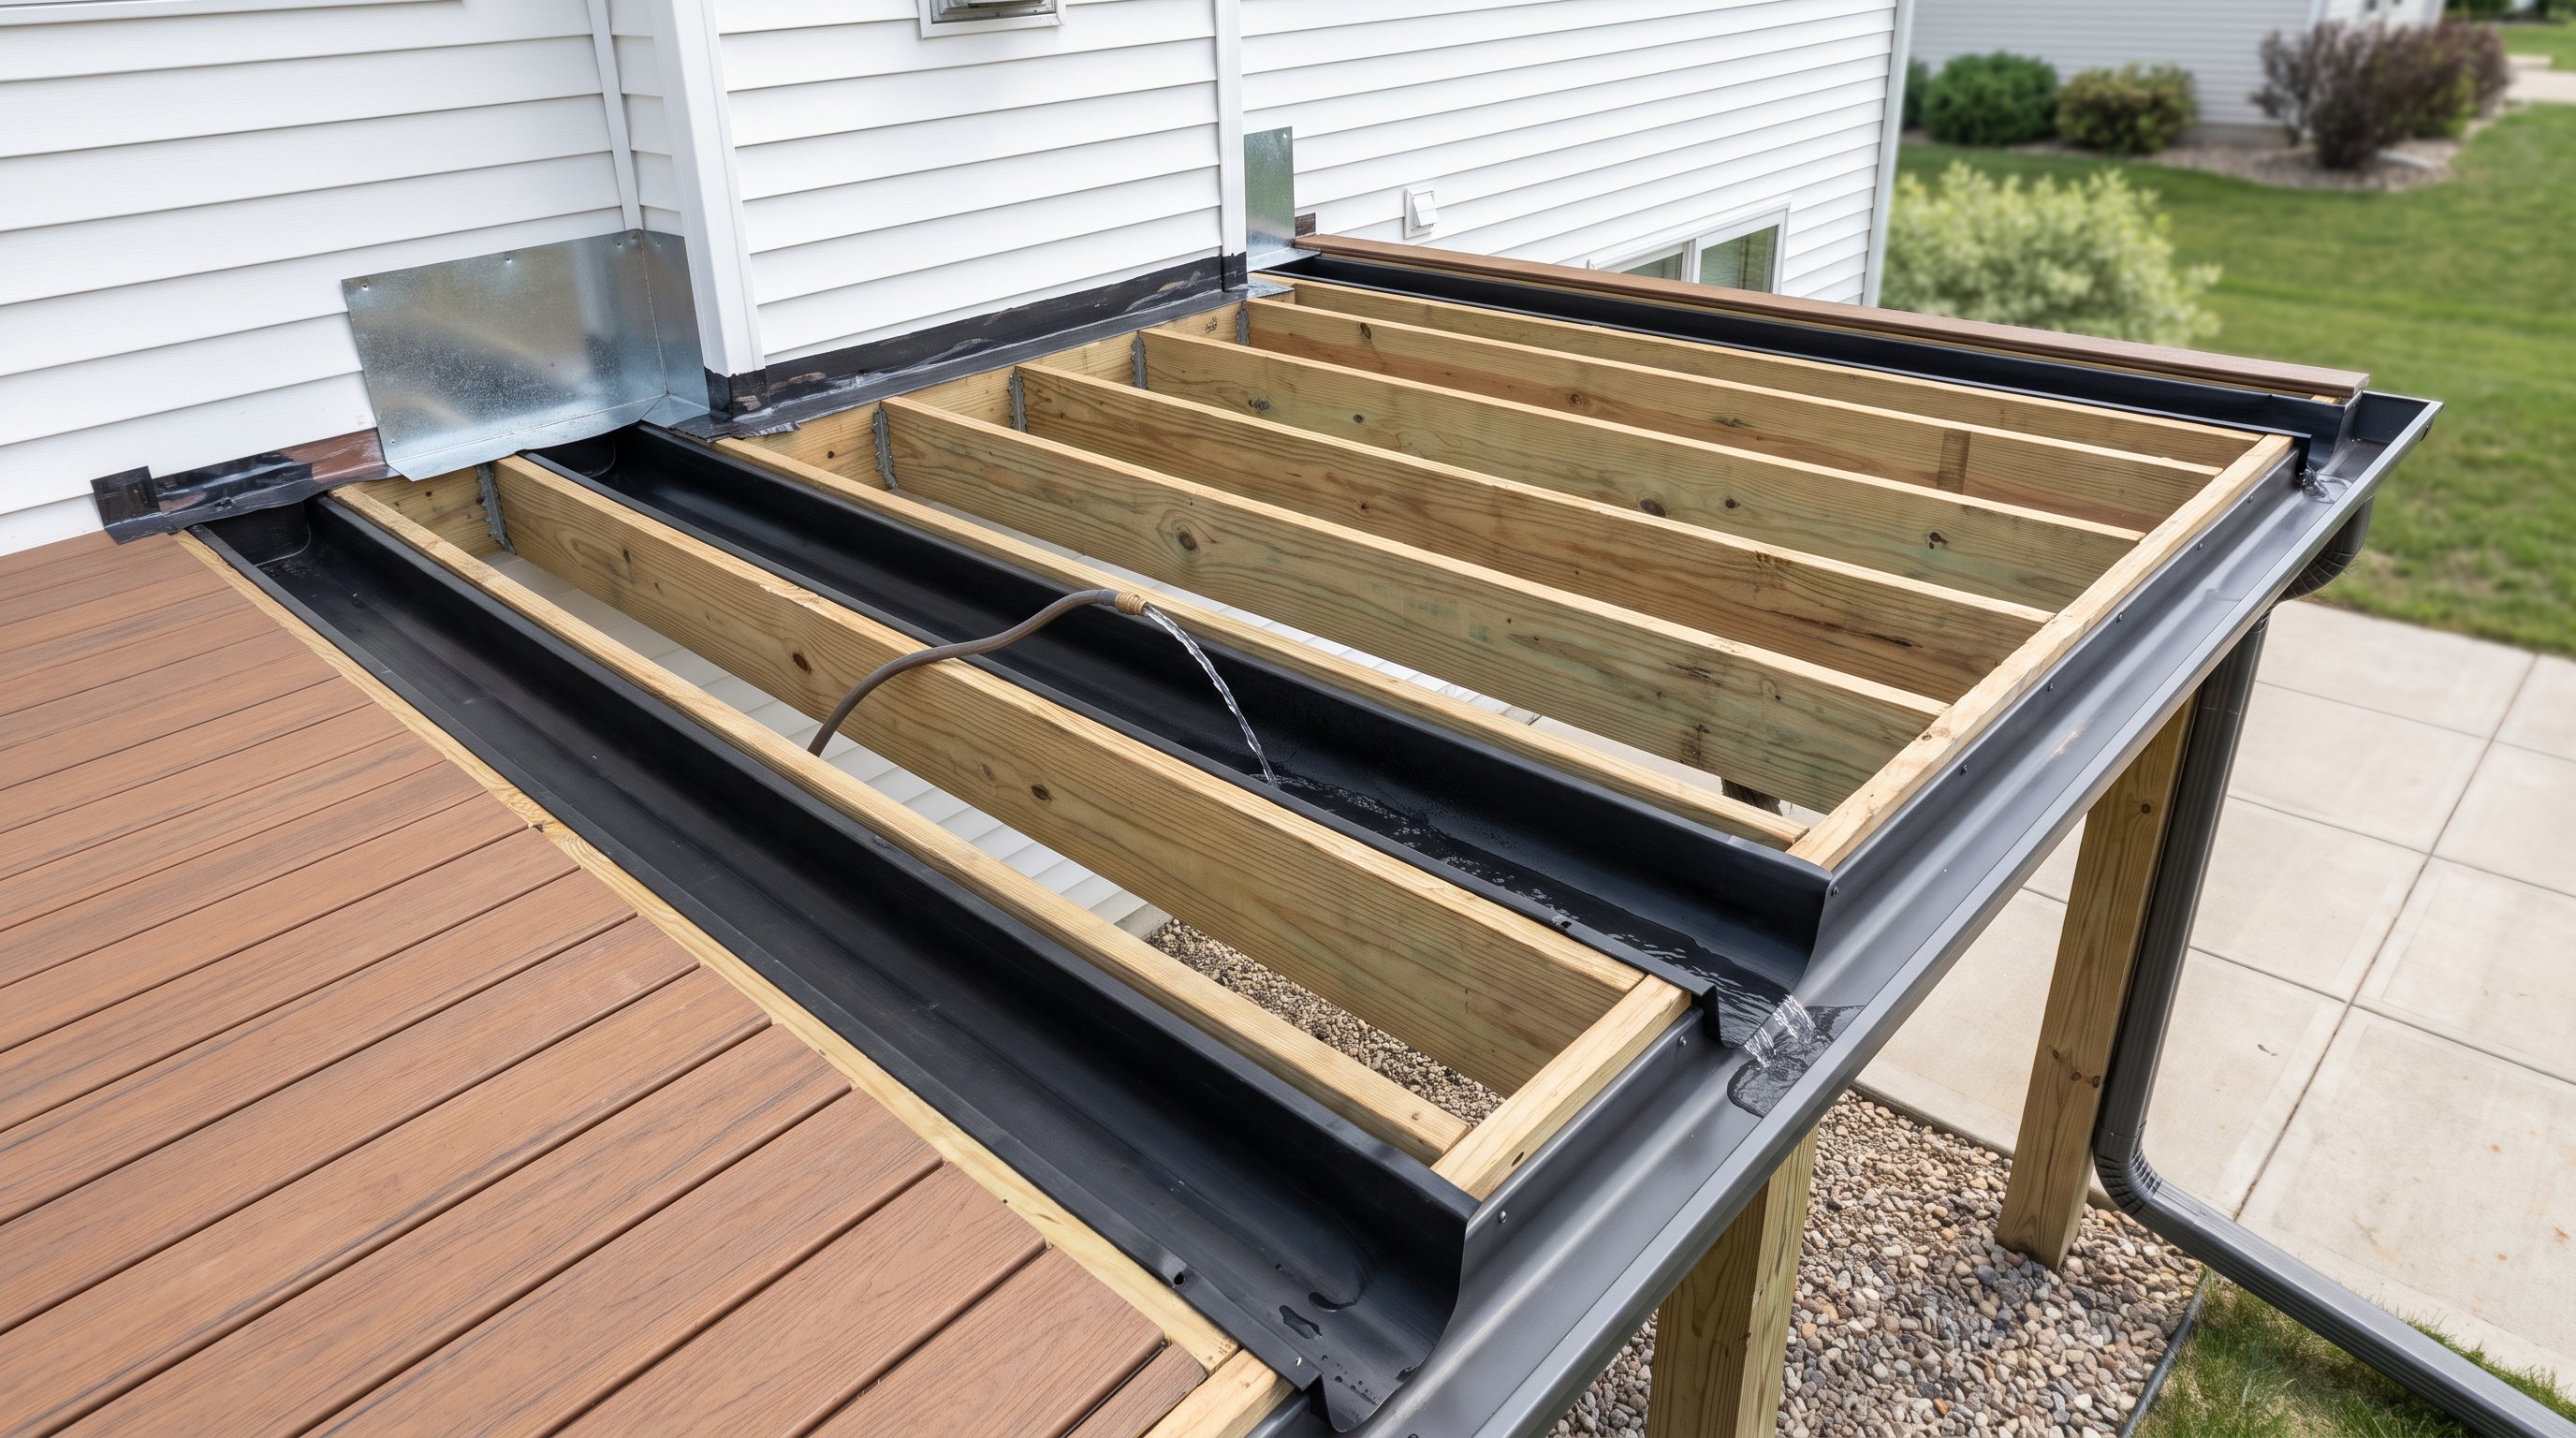
A reliable installation starts with sound framing and a continuous water path from the house edge to the final discharge point. Material choice matters, but careful transitions usually determine whether the system leaks.
On a new deck, we can coordinate an above-joist system with the framing, decking fasteners, gutter position, and ceiling plan. On an existing deck, we first inspect the ledger connection, joists, beams, posts, and hardware.
Soft wood, loose connections, or staining around the house connection need investigation before anything gets covered. Our guide to deck repair or replacement explains that structural decision: drainage won't correct an unsafe frame.
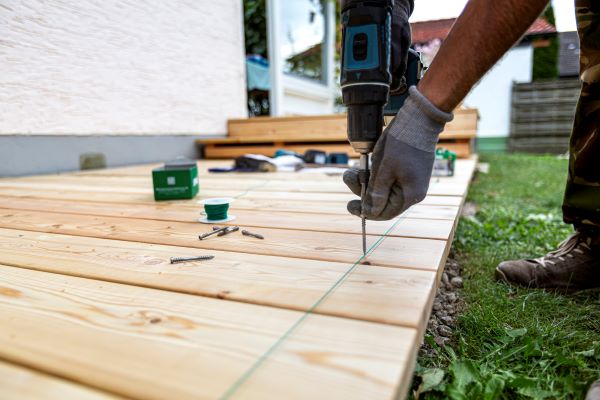
Installing an above-joist system on an existing deck generally requires lifting the boards. That makes a planned resurfacing project a practical time to consider it, provided the framing remains suitable.
Systems may use flexible troughs, formed panels, or interlocking ceiling components. We follow the selected manufacturer's requirements for compatible sealants, tapes, fasteners, and supports rather than mixing unrelated parts.
There isn't one slope measurement that fits every product. The collection surface needs the manufacturer's specified fall, without low spots that hold water and sediment. We also account for the headroom lost to slope, gutters, and any separate ceiling.
Flashing must direct water away from the house and into the drainage system. Sealing a visible joint with caulk isn't a substitute for a correctly detailed connection at the siding and ledger.
Posts and other penetrations need compatible flashing details. Future ceiling screws or electrical work must not puncture the collection layer.
Gutters need access for cleaning, while downspouts need a discharge location that doesn't soak the foundation or create ice across a walkway. Before closing the underside, we test the system with water and inspect joints, outlets, and low points for leaks or standing water.
Plan the project around the deck's condition, installation access, and discharge route, not square footage alone. In Utah, winter performance also depends on keeping snowmelt moving through outlets that remain accessible for maintenance.
A drainage-only retrofit and an above-joist installation with board removal involve different amounts of work. A finished ceiling, electrical fixtures, framing repairs, and complicated gutter routing also change the scope.
Ask each estimate to identify:
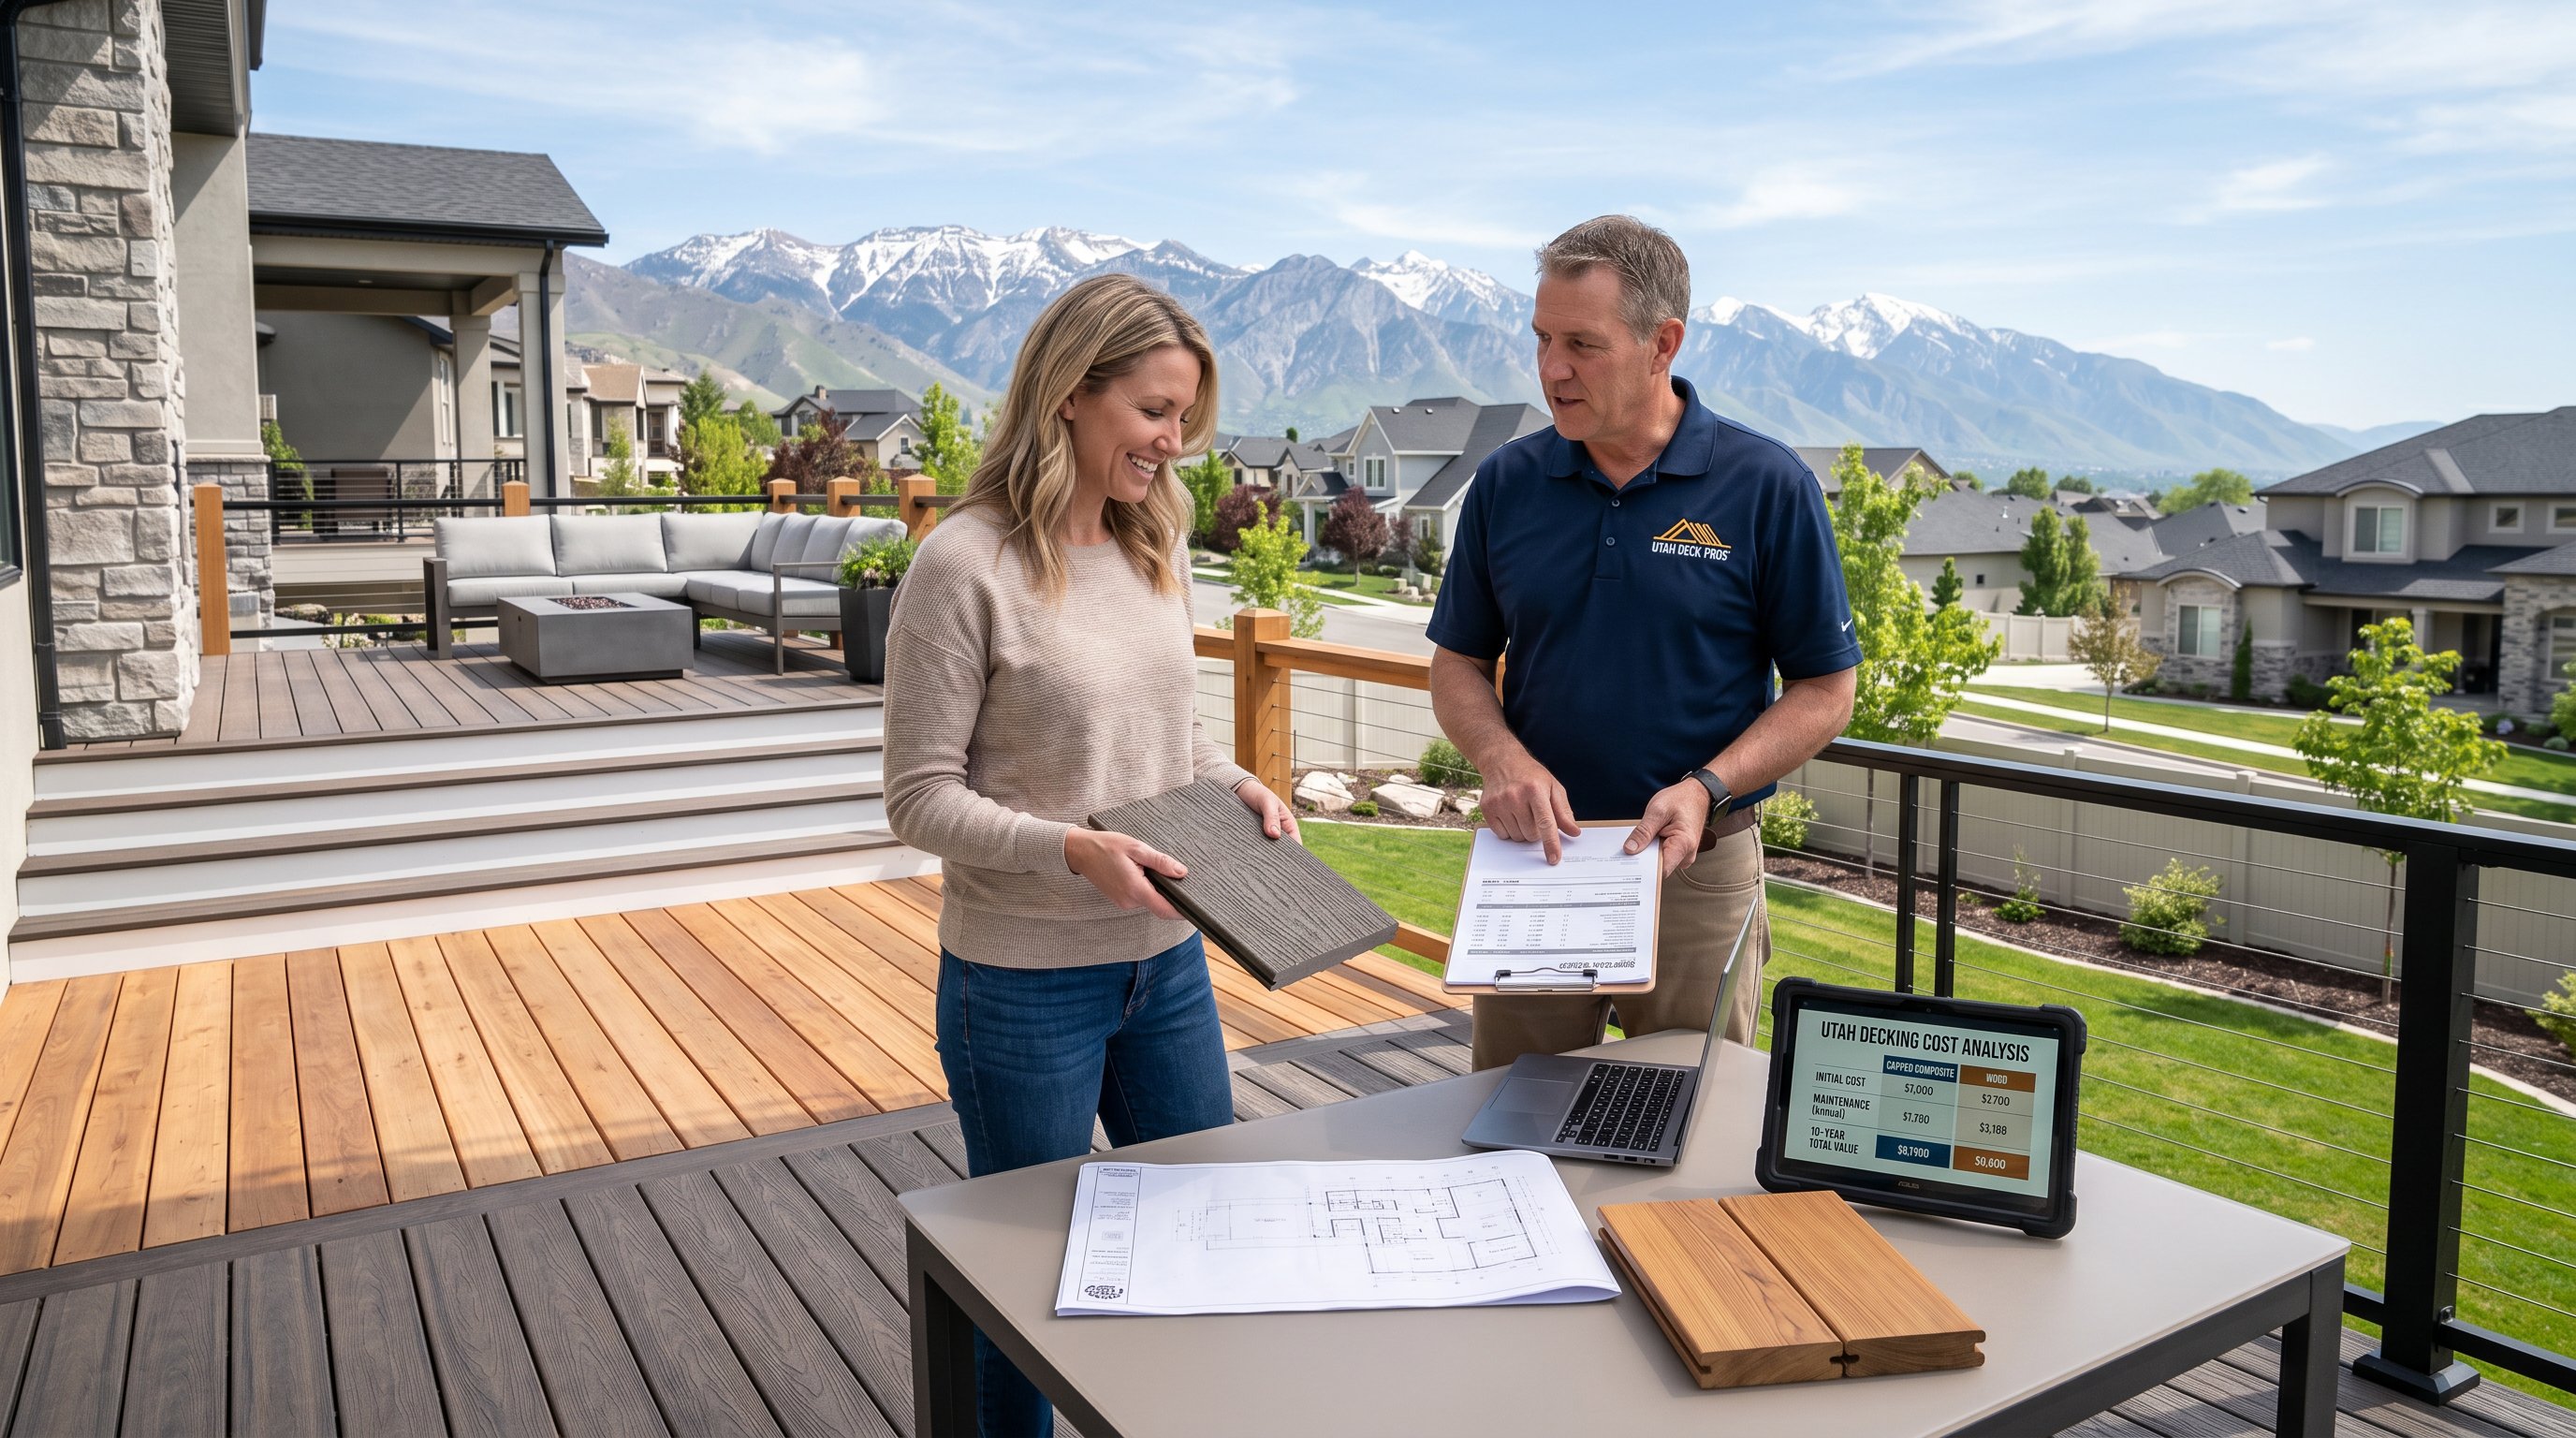
We provide free in-home estimates so those decisions can be evaluated against the actual deck. A standard new-deck square-foot price isn't a dependable estimate for this upgrade.
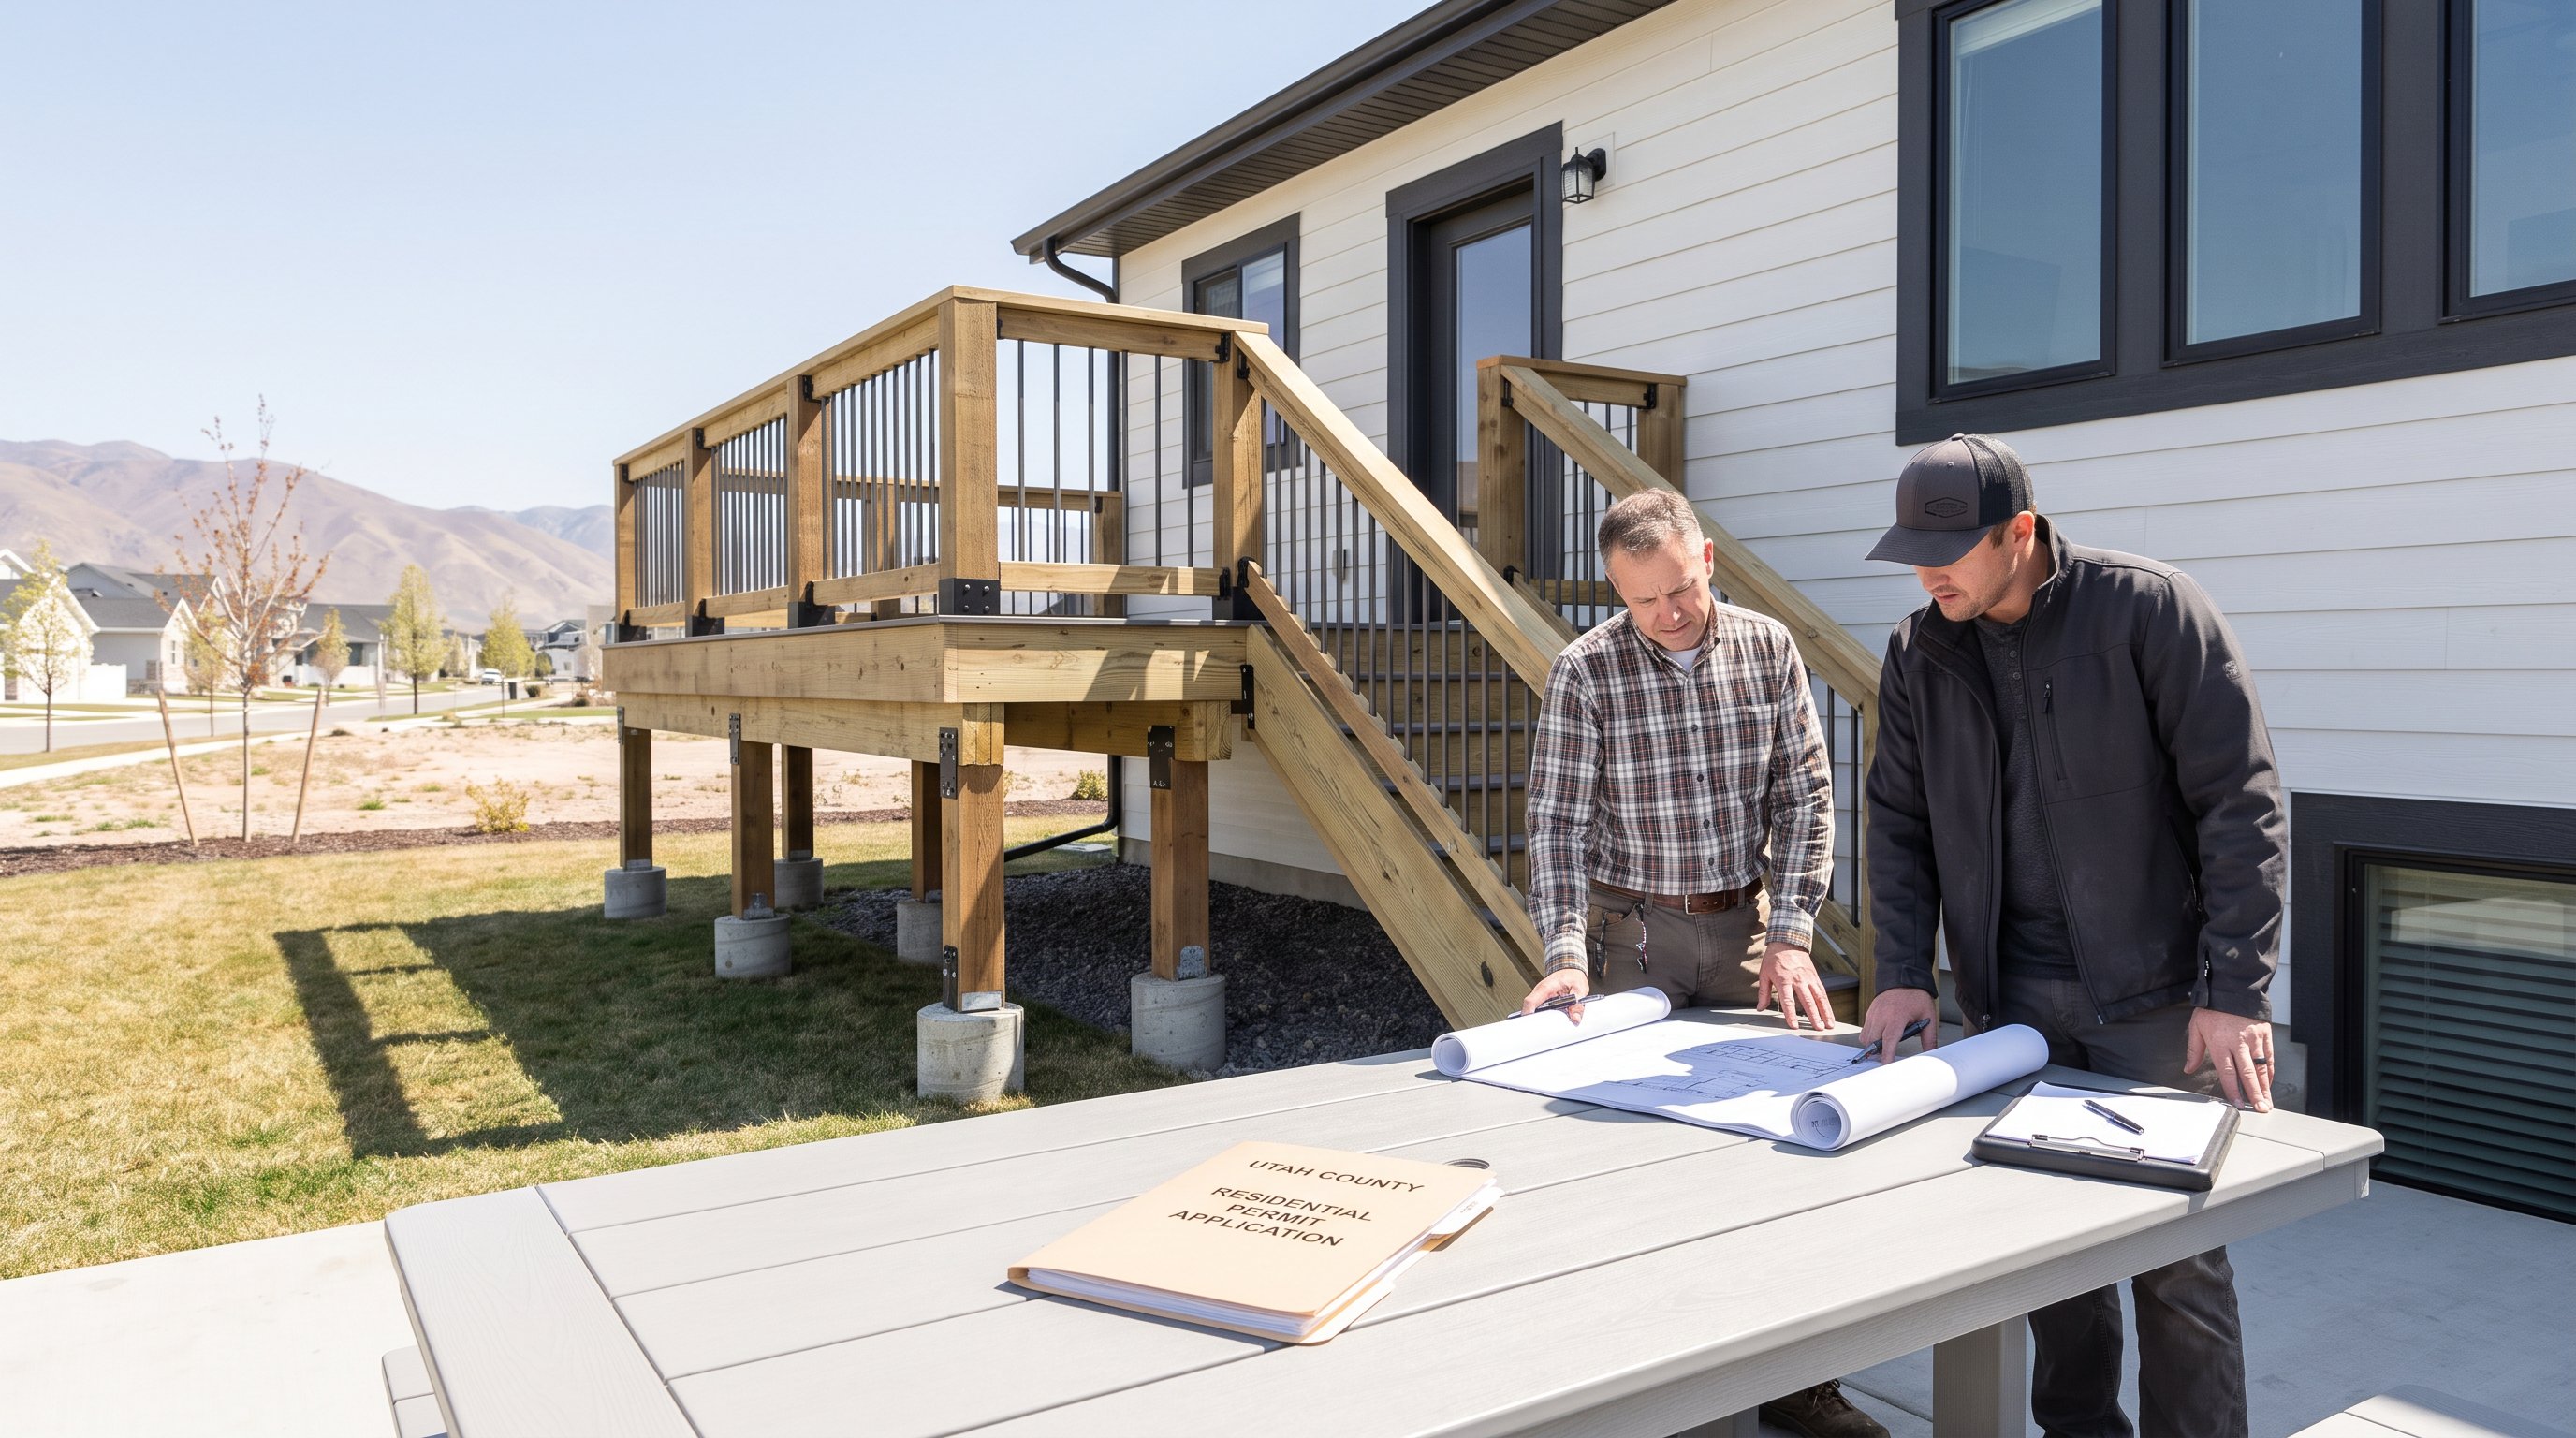
For an Eagle Mountain project, ask the city's building department whether the proposed drainage, ceiling, structural changes, or electrical work require permits. Rules change, and an existing deck approval doesn't establish approval for every later modification.
If your property has an HOA, confirm whether visible ceilings, downspouts, or exterior changes require separate approval. HOA approval and a building permit serve different purposes.
Some below-joist products are marketed for homeowner installation. The harder decisions involve house flashing, unusual framing, drainage outlets, and safe work overhead, not simply attaching panels.
We recommend professional assessment when the ledger's condition is uncertain or the project includes electrical fixtures. Choose fixtures rated for their actual exposure: a drainage system doesn't turn an open patio into an indoor room.
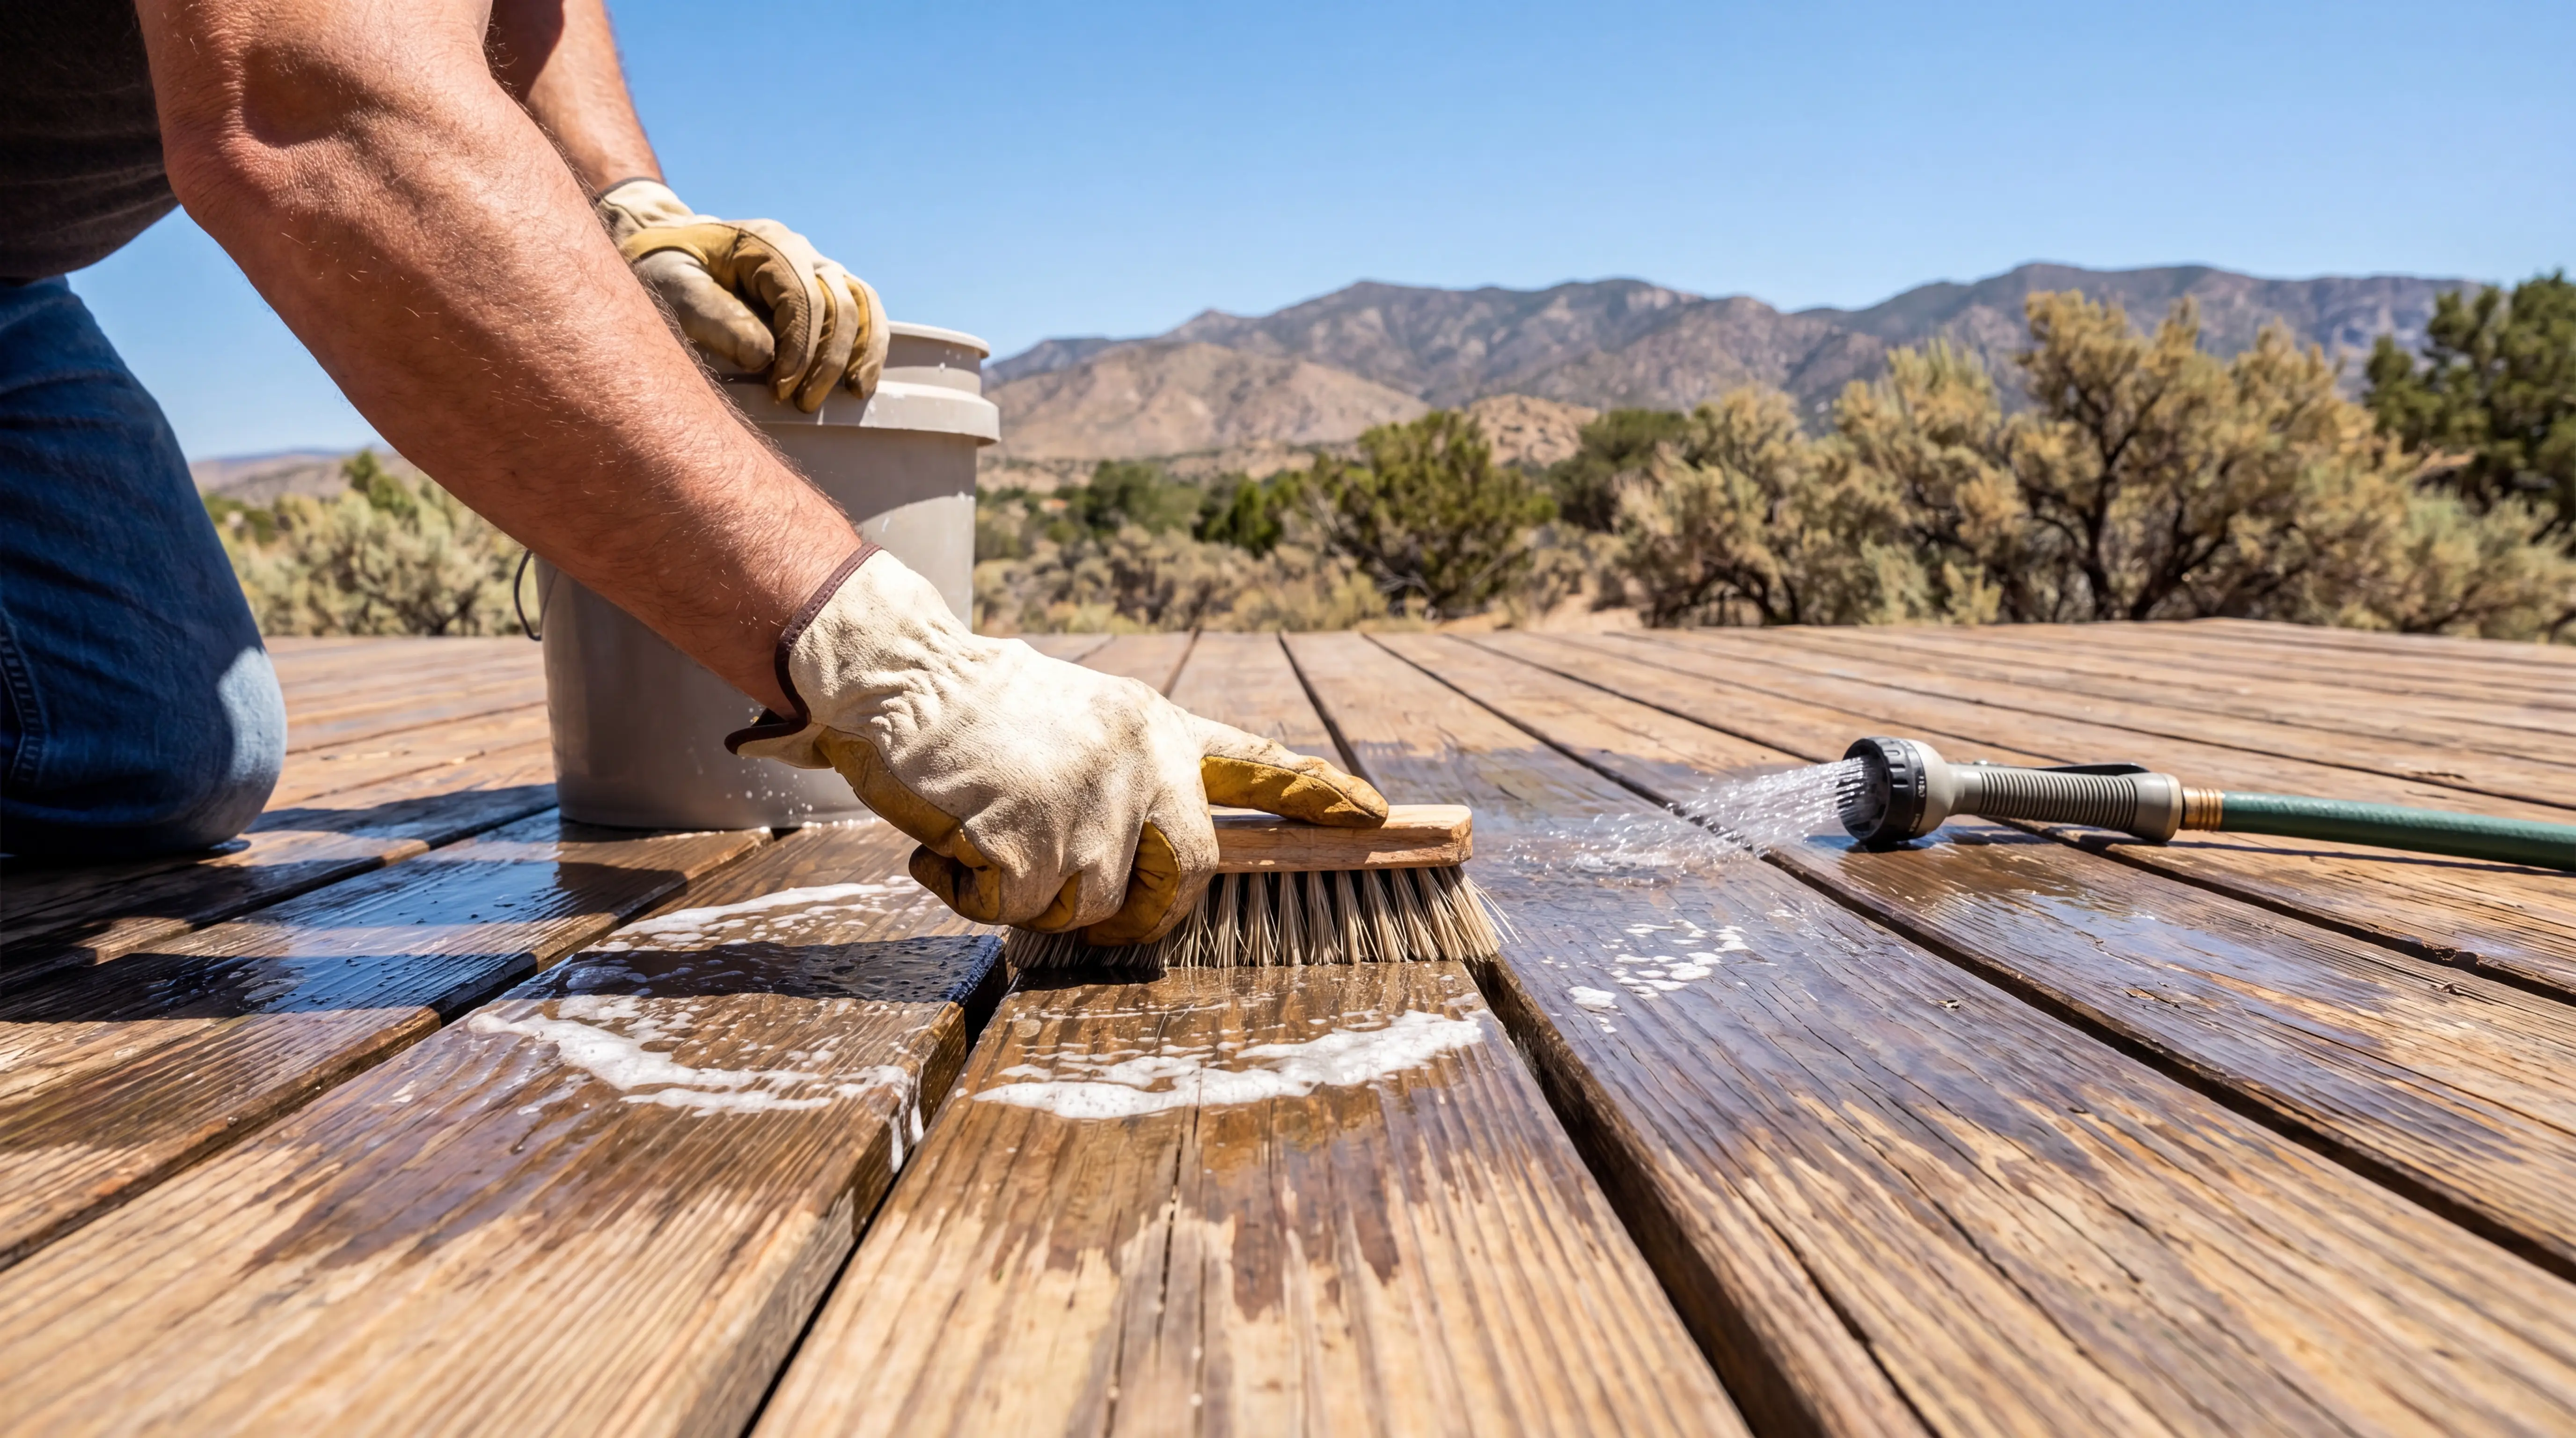
Clear leaves and debris from gutters and outlets before freezing weather, then inspect during thaws for overflow or new dripping. Snowmelt can refreeze at a shaded outlet even when the deck surface is warming in the sun.
Don't chip ice against thin panels or membranes. Follow the product's cleaning guidance, and investigate recurring backups rather than treating them as normal winter behavior. The system also doesn't increase the deck's snow-load capacity: framing adequacy remains a separate structural question.
Choose an above-joist system when the boards are coming off and framing protection is a priority. Consider a below-joist retrofit when the deck is sound and keeping the existing surface makes sense. In either case, require a clear discharge route, inspection access, and a water test before finishing the ceiling. Call 435-660-1944 for a free quote.
Under deck drainage is a system that captures water running through deck boards and channels it to gutters, keeping the area below dry and protected. This creates a sheltered patio or storage area beneath your deck, extending usable outdoor space.
Above-joist systems, like Trex RainEscape, install over the joists before decking and protect framing from water, ideal for new decks or major renovations. Below-joist systems attach under existing decks and are easier to retrofit but may expose joists to moisture.
Sound installation includes using compatible materials, ensuring correct slope to avoid standing water, integrating flashing to direct water away from the house, and connecting gutters and downspouts for proper drainage, which prevents leaks and structural damage.
Homeowners should assess deck framing condition, obtain necessary permits, consider local snow loads and climate, plan for gutter maintenance in winter, and decide if DIY installation is appropriate given complexity and risk of concealed leaks.
Yes, many below-joist drainage systems can be installed from underneath without removing boards, making them suitable for retrofitting existing decks provided the framing is sound and properly inspected.
Above-joist systems keep joists dry, preventing rot and corrosion. They also allow installation of ceiling lights and fans below the deck safely, enhancing comfort and usability of the under deck space.

.avif)
.avif)



.webp)